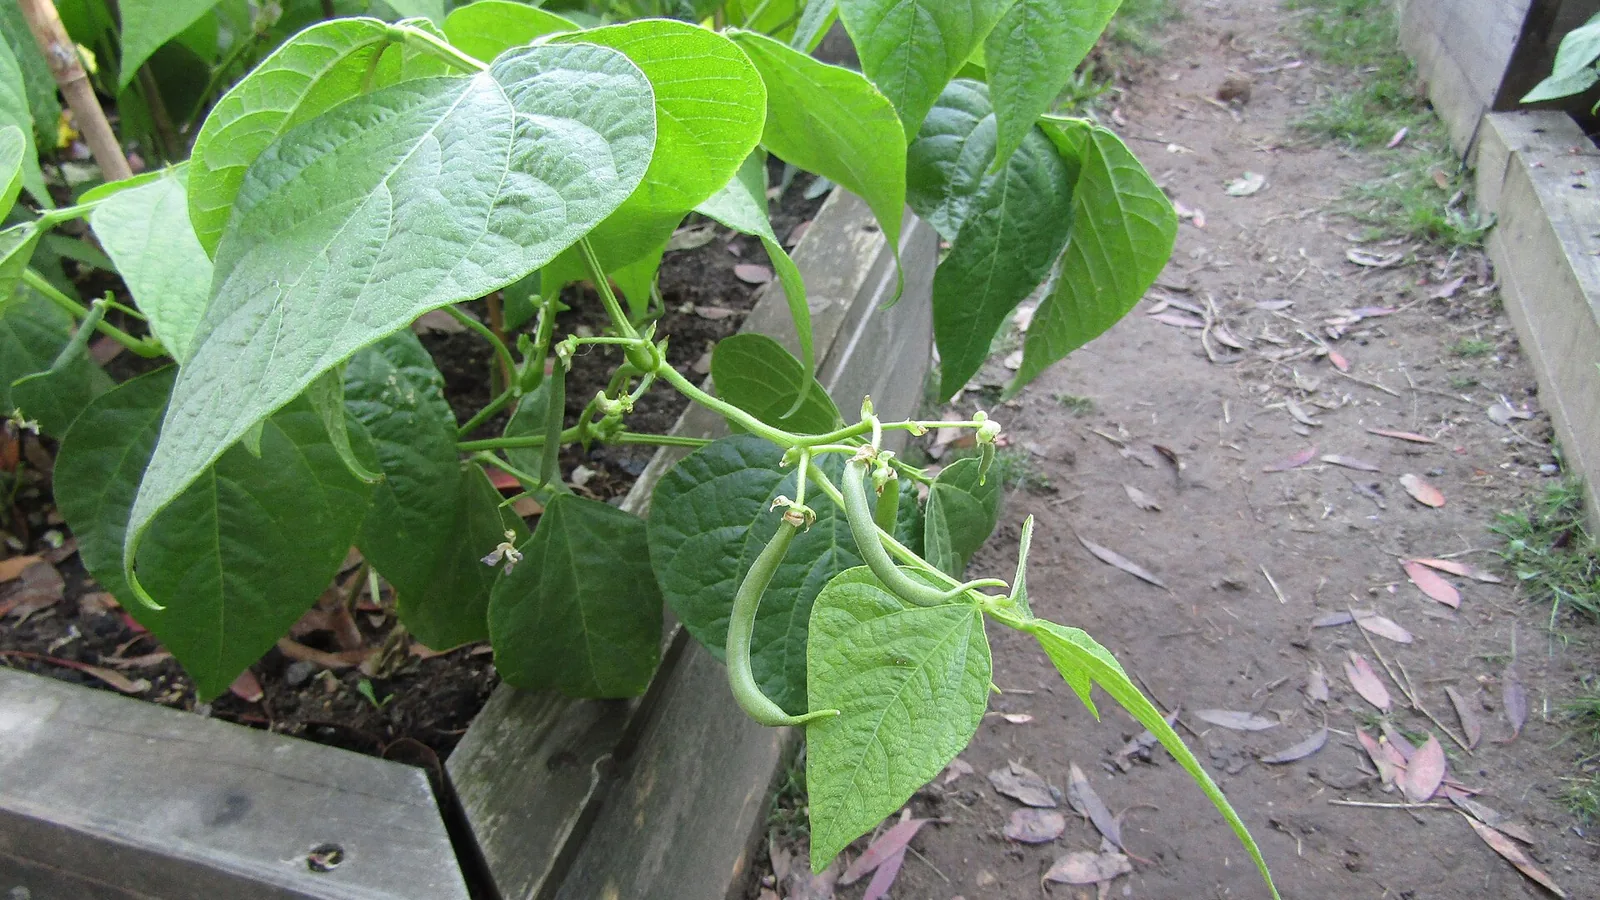
Frost-tender. Sow outdoors up to 2 weeks after your last frost; sow in fall 10 to 12 weeks before your first fall frost. First harvest 50 to 60 days from sowing.
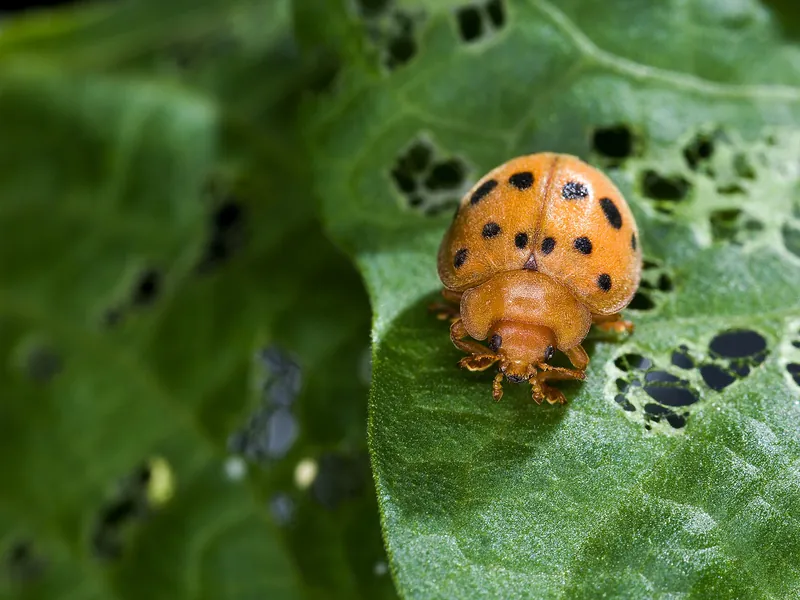
What you'll see: Copper-colored beetles with black spots and spiny yellow larvae feed under bean leaves, leaving lacy skeletons.
Prevent
Use row cover on beans.
Remove bean plants right after harvest.
Reflective or white plastic mulch lowers beetle numbers.
Organic options
Hand-pick beetles, and crush yellow egg clusters and larvae.
Release the parasitic wasp Pediobius foveolatus when eggs start to hatch.
Kaolin clay on young plants deters feeding.
Conventional options
Several garden insecticides are labeled for beans; check the label lists Mexican bean beetle.
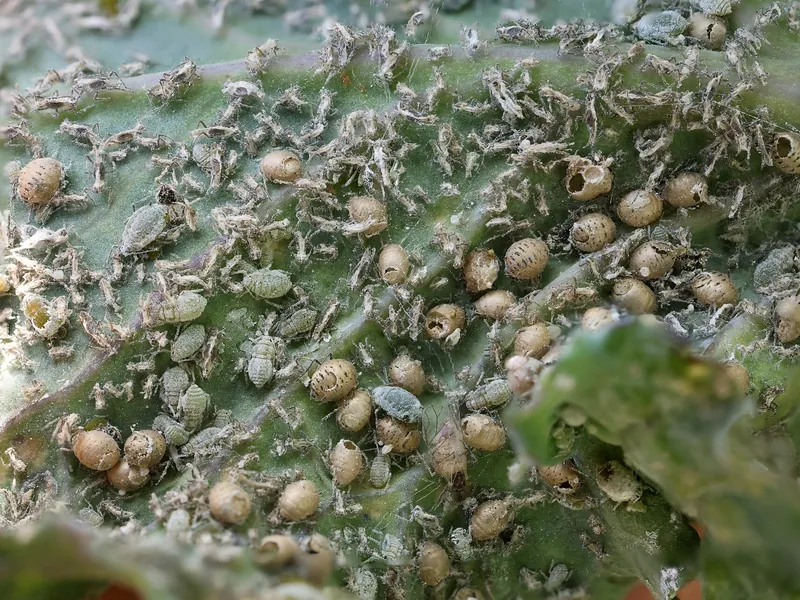
Photo: “Aphids on Kale leaf” by Sanjay Acharya, CC BY-SA 4.0, via Wikimedia Commons (cropped). The cropped version is shared under the same licence.
AphidsPest
What you'll see: Clusters of small, soft-bodied green, black or gray insects on new shoots and under leaves. Leaves curl, and a sticky film may coat them.
Prevent
Check leaf undersides each week; a few aphids do little harm.
Pull nearby weeds, such as wild mustards, that feed aphids.
Grow flowers for lady beetles, lacewings and hover flies, and avoid broad sprays that kill them.
Organic options
Knock aphids off with a strong spray of water.
Insecticidal soap or horticultural oil on leaf undersides, repeated as the label allows.
Neem oil, or OMRI Listed pyrethrins (without piperonyl butoxide).
Conventional options
Malathion or permethrin, if the crop is on the label. These also kill the insects that eat aphids.
Bee caution: Don't spray open flowers. Spray in the late evening, when bees aren't flying.
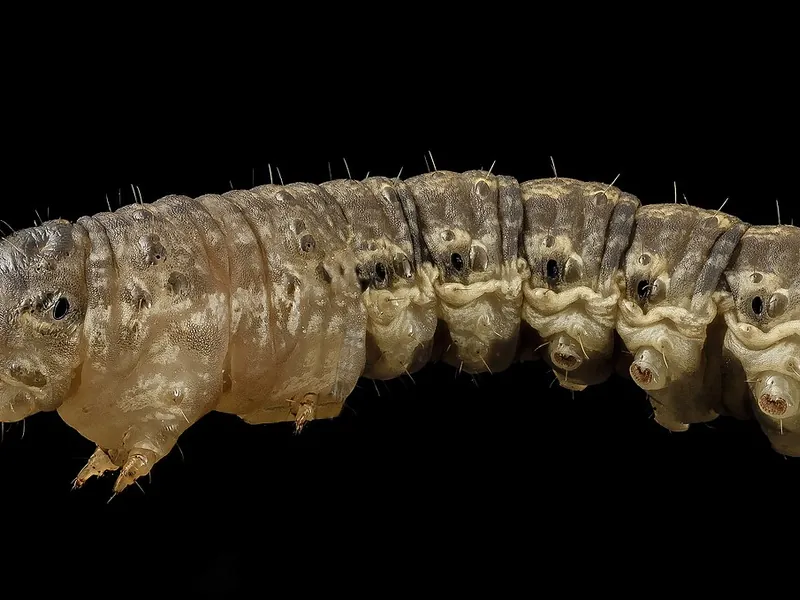
What you'll see: Young plants are cut off at or just above the soil overnight. Fat gray or brown caterpillars curl into a C shape in the soil nearby.
Prevent
Put a cardboard or foil collar around each transplant, pushed a few inches into the soil.
Till the bed before planting, and pull weeds.
Keep a strip of bare, dry soil along the garden edge.
Organic options
Dig gently around cut plants and destroy the caterpillars.
Conventional options
Usually not needed in a home garden. Collars work better than sprays.
Root rotDiseaseNo spray helps
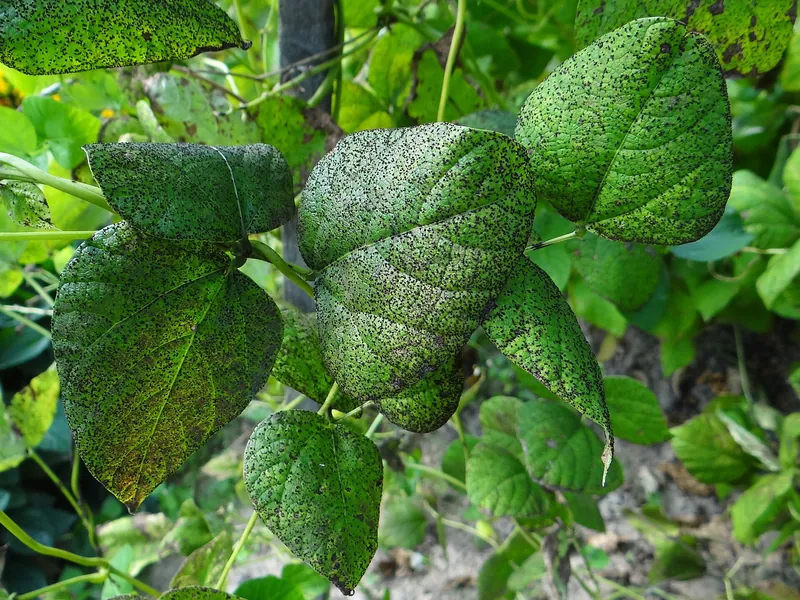
What you'll see: Plants yellow, wilt and die back even though the soil is wet. Roots are brown, soft and few, and bean seedlings may rot at the soil line.
Prevent
Plant in well-drained soil; grow raspberries on beds raised about a foot.
Do not overwater.
Plant beans and peas in a new spot each year, and sow them only once the soil has warmed.
Start with healthy plants, and do not move soil from a sick bed to a healthy one.
Organic options
Remove and dispose of dying plants and clear crop debris after harvest.
Conventional options
None. Fungicides have not proven effective in home gardens; drainage is the fix.
Read and follow the product label: it is the law. It sets the rate, the crops it is for, and the days between spraying and picking. Products registered vary by state; for organic growing, look for products allowed under the USDA National Organic Program (OMRI Listed). We name active ingredients, not brands or rates.
The link opens this growing guide, so anyone can read it and look up their own planting dates.
FacebookShare this link on Facebook.XShare this link on X.LinkedInShare this link on LinkedIn.RedditShare this link on Reddit.PinterestShare this link on Pinterest.EmailEmail this link.Open your device's share menu.Copy the link to your clipboard.
Growing more than you can eat? Sell it at a farm stand. TallyTill takes cards and keeps count of what sells, and the Stand plan is free.
 Sow
 Sprout
 Vines
 Flowers
 Pods
 Harvest