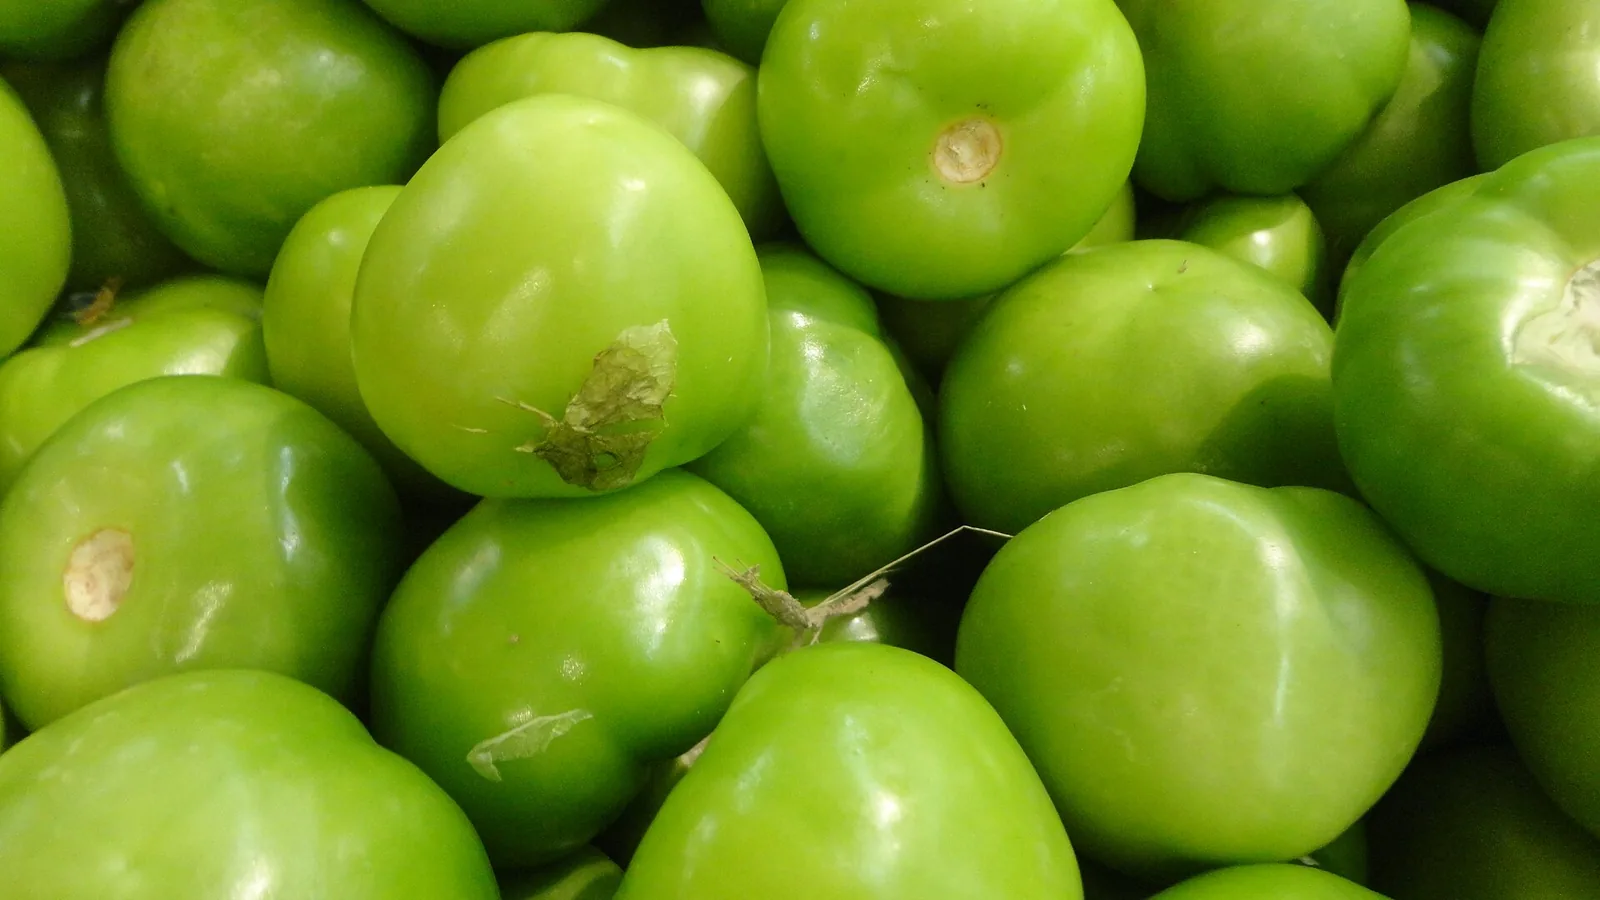
Warm-season and frost-tender. Start indoors 2 weeks before your last frost; plant out 2 to 3 weeks after your last frost. First harvest 60 to 90 days from planting.
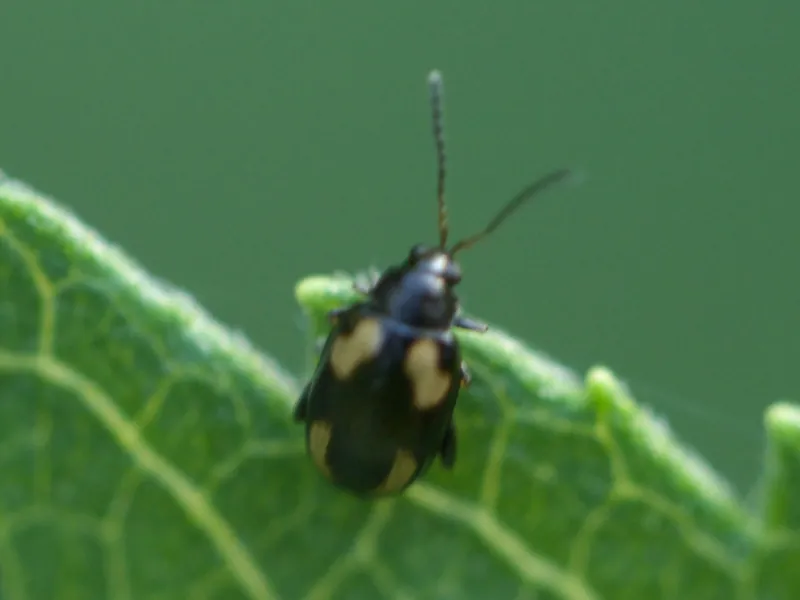
What you'll see: Many tiny round holes and pits in leaves, as if hit by buckshot. Tiny dark beetles jump when disturbed.
Prevent
Cover seedlings with row cover and seal the edges.
Plant a little later, so warm weather carries plants through the damage.
Sow radish ahead of the main crop as a trap crop.
Clear weeds and old crop debris.
Organic options
Spinosad, or OMRI Listed pyrethrins (without piperonyl butoxide).
Conventional options
Carbaryl, malathion or permethrin, if the crop is on the label. Older plants seldom need treatment.
Bee caution: Don't spray open flowers. Spray in the late evening, when bees aren't flying.
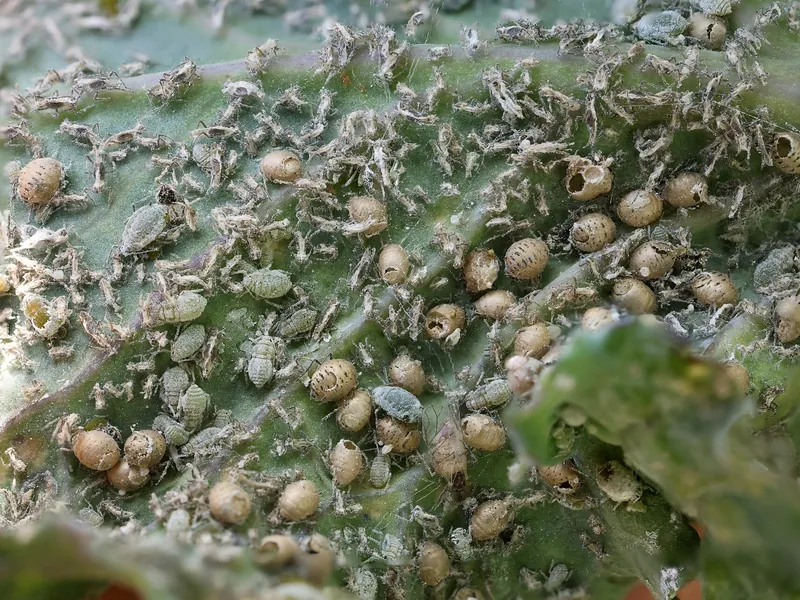
Photo: “Aphids on Kale leaf” by Sanjay Acharya, CC BY-SA 4.0, via Wikimedia Commons (cropped). The cropped version is shared under the same licence.
AphidsPest
What you'll see: Clusters of small, soft-bodied green, black or gray insects on new shoots and under leaves. Leaves curl, and a sticky film may coat them.
Prevent
Check leaf undersides each week; a few aphids do little harm.
Pull nearby weeds, such as wild mustards, that feed aphids.
Grow flowers for lady beetles, lacewings and hover flies, and avoid broad sprays that kill them.
Organic options
Knock aphids off with a strong spray of water.
Insecticidal soap or horticultural oil on leaf undersides, repeated as the label allows.
Neem oil, or OMRI Listed pyrethrins (without piperonyl butoxide).
Conventional options
Malathion or permethrin, if the crop is on the label. These also kill the insects that eat aphids.
Bee caution: Don't spray open flowers. Spray in the late evening, when bees aren't flying.
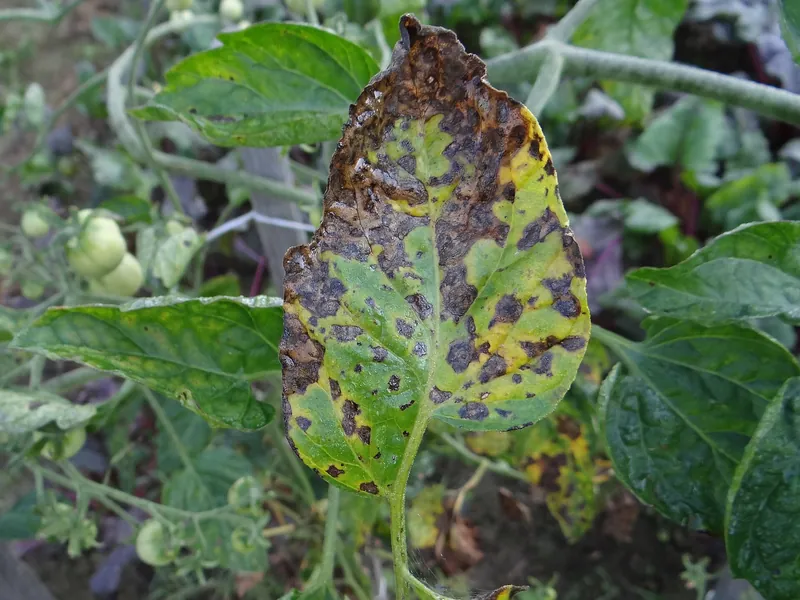
What you'll see: Brown spots with rings like a target and a yellow edge show on the lowest leaves first. Leaves yellow and drop from the bottom up.
Prevent
Rotate: no tomatoes, tomatillos, potatoes, peppers or eggplant in that bed for 2 years or more.
Mulch so soil does not splash onto leaves.
Stake and space plants, and water at the base.
Grow resistant varieties.
Organic options
Pick off spotted leaves early, never more than a third of the plant, and bin them.
Copper fungicide, from the first spots. Look for OMRI Listed products.
Conventional options
Chlorothalonil or mancozeb, from the first spots, if the crop is on the label; tomato labels do not cover tomatillos. Most home plants still yield well.
Bee caution: Don't spray open flowers. Spray in the late evening, when bees aren't flying.
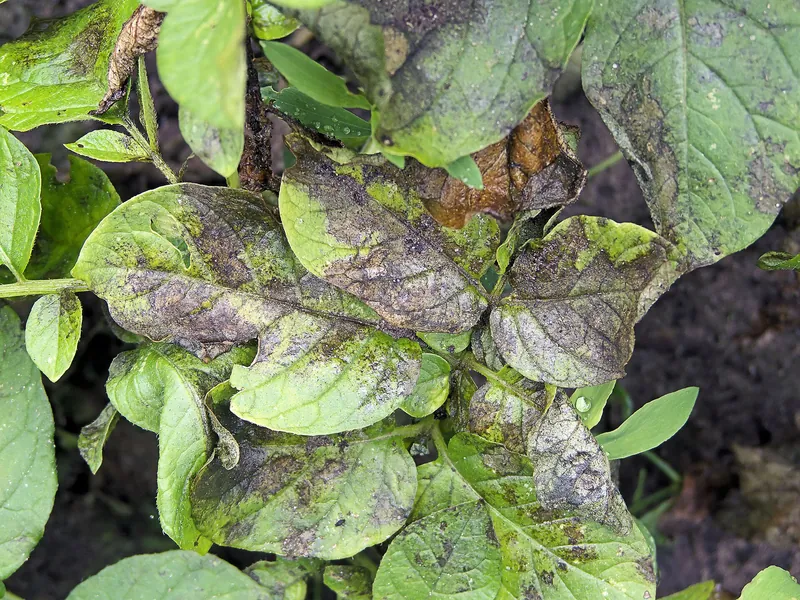
What you'll see: Large, dark, greasy-looking blotches on leaves and stems spread fast in cool, wet weather, with white mold beneath. Fruit and tubers rot.
Prevent
Do not plant where tomatoes, tomatillos, potatoes, peppers or eggplant grew in the last 3 to 4 years.
Plant certified seed potatoes and pull volunteer potatoes.
Keep leaves dry: water at the base in the morning and space plants.
Grow resistant varieties.
Organic options
Pull and bag infected plants at once; do not compost them.
Copper fungicide, before infection, when late blight is reported nearby. Look for OMRI Listed products.
Conventional options
Chlorothalonil or mancozeb, before infection, if the crop is on the label; tomato labels do not cover tomatillos. Sprays protect leaves; they do not cure.
Bee caution: Don't spray open flowers. Spray in the late evening, when bees aren't flying.
Read and follow the product label: it is the law. It sets the rate, the crops it is for, and the days between spraying and picking. Products registered vary by state; for organic growing, look for products allowed under the USDA National Organic Program (OMRI Listed). We name active ingredients, not brands or rates.
The link opens this growing guide, so anyone can read it and look up their own planting dates.
FacebookShare this link on Facebook.XShare this link on X.LinkedInShare this link on LinkedIn.RedditShare this link on Reddit.PinterestShare this link on Pinterest.EmailEmail this link.Open your device's share menu.Copy the link to your clipboard.
Growing more than you can eat? Sell it at a farm stand. TallyTill takes cards and keeps count of what sells, and the Stand plan is free.
 Sow
 Sprout
 Plant out
 Flowers
 Fruit sets
 Harvest